Testing Sourdough for the First Time - Here's How It Went at Home - Simple and Educational
Published: 25.05.2026
Creating an active sourdough starter at home doesn't have to be complicated. With dried starter from Kompani Surdeig and stone-ground whole grain flour from Kvelde Mølle, you can build a strong and ready-to-bake sourdough in just a few days. Whole grain flour provides extra activity, rich flavor, and stable fermentation, making it perfect for both beginners and experienced home bakers.
- Servings
- 2 servings
- Prep
- 5 min
- Cook
- 20 min
Ingredients
- 50 g dried sourdough starter from Kompani Surdeig
- 350 g lukewarm water
- 350 g Kvelde Mølle Whole Grain Flour
Instructions
- Mise en place: Gather a clean glass or plastic container of at least 1 liter, kitchen scale, spatula, and Kvelde Mølle Whole Grain Flour.
- Mix 50 g of water, 50 g of whole grain flour, and 1 packet of dried sourdough starter.
- Stir well until you have a thick batter without dry flour remnants.
- Loosely cover with a lid or cloth.
- Let sit at room temperature for 24 hours, preferably between 22 and 25 degrees.
- Add 50 g of water and 50 g of whole grain flour.
- Stir well together.
- Add another 50 g of water and 50 g of whole grain flour.
- Stir well and return to room temperature.
- The starter should now show small bubbles and begin to smell mildly sour.
- Save 50 g of the starter.
- Discard the rest or use it in pancakes or waffles.
- Feed the 50 g starter with: 50 g water, 100 g whole grain flour.
- Stir well together until you have a thick mixture.
- Let sit at room temperature for 6 to 12 hours.
- When the starter doubles in size and is full of bubbles, it is ready for baking.
Sourdough is one of the oldest leavening methods known to us and has been used for thousands of years before industrial yeast became common. Dried sourdough starter makes it easier to get started at home by introducing active lactic acid bacteria and wild yeast in dehydrated form. Kompani Surdeig's starter follows a classic refreshing method over several days to build strength, acidity, and leavening ability.
Stone-ground whole grain flour from Kvelde Mølle is very suitable for starting sourdough because the whole grain is included in the flour. The husk contains natural microorganisms and minerals that provide good activity in the starter. Whole grain flour often leads to faster fermentation and more pronounced bubble formation in the first few days.
Flavor Profile:
Mild acidity with nutty and grain-rich aroma from stone-ground whole grain. The starter develops a deeper and more rustic character than when using refined flour.
Serving Suggestions:
Use the starter for sourdough bread, rolls, pizza, or focaccia. For lighter baked goods, you can combine whole grain flour with refined wheat flour in the dough itself. Store the starter in the refrigerator after activation and feed it weekly.
Sourdough is about time, natural fermentation, and living culture. Once you understand the principles behind a good starter, a whole new world of baking opens up with deeper flavor, better structure, and more character than regular yeast baking.
Kompani Surdeig's dried starter is designed to make the startup easier. Instead of building a culture entirely from scratch over many days or weeks, you get a ready-made foundation with living microorganisms that are revived with water and flour. This makes the process both more stable and more predictable.
The choice of flour has a significant impact on how active the starter becomes. Kvelde Mølle's stone-ground whole grain flour is particularly suitable because the whole grain is milled in. When the husk and germ are preserved, natural nutrients, minerals, and microorganisms also enter the starter. This provides the wild yeast and bacteria with a rich environment to develop.
Stone milling also gives the flour a different character compared to industrially milled alternatives. The grain is treated more gently, the temperature is lower during milling, and more flavor and aroma are retained. The result is a more vibrant and aromatic sourdough.
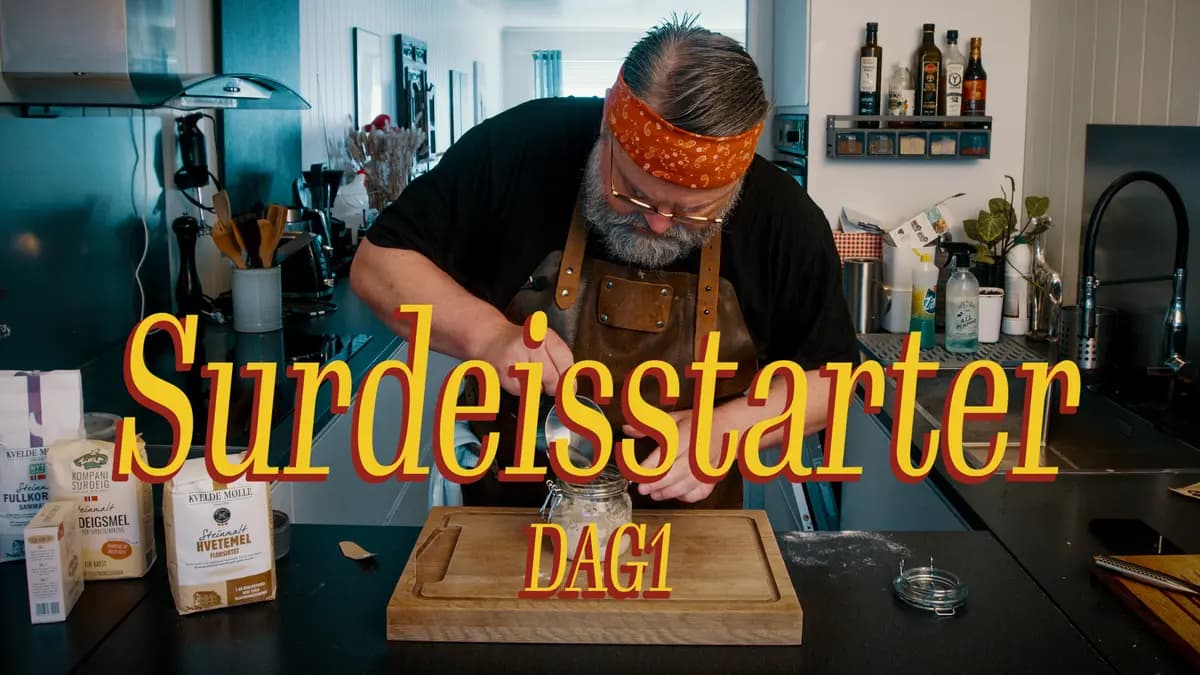
Day 1 is primarily about waking up the culture. The mixture will often seem quite still in the first few hours, but gradually you may see small signs of activity. The room temperature affects how quickly this happens. Around 22 to 25 degrees is ideal for most starters.
On Day 2, the feedings start to build strength. By adding fresh water and flour, you provide the microorganisms with new nutrients. Many notice that the starter begins to smell mildly sour at this point. This is a good sign that fermentation is underway.
Day 3 is often when the starter really comes to life. Small bubbles become more pronounced, the volume starts to increase, and the consistency becomes airier. When the starter doubles in size after feeding, it is usually ready for baking.
A common mistake many make is using water that is too cold or placing the starter in a cool room. This can significantly delay development. Lukewarm water and stable temperature provide much better activity.
Another important factor is the consistency. Whole grain flour absorbs more liquid than refined flour, so the starter will be quite thick. This is completely normal. It should be easy to stir, but not runny.
When the starter is active, it can be stored in the refrigerator between baking sessions. If you bake often, you can feed it daily at room temperature. For most home bakers, feeding it once a week is sufficient.
Sourdough develops flavor over time. The older and better maintained the starter becomes, the more complex aroma the baked goods will have. Many experience notes of nuts, yogurt, fruit, or mild acidity in the finished bread.
The starter can be used for much more than just bread. Pizza, focaccia, rolls, waffles, and pancakes all gain more flavor and better texture with sourdough. The leftovers you remove during feeding do not need to be discarded. They can be used directly in other recipes for extra flavor.
For beginners, it is important to remember that sourdough does not always behave the same way each time. Temperature, flour type, humidity, and feeding affect the results. Therefore, sourdough is as much about observation as it is about exact timing.
When the starter is at its most active, the top will be round and airy with many small and large bubbles. Eventually, it will start to collapse a bit. The optimal time to bake with the starter is just before it begins to fall.
With the right flour, stable feeding, and a bit of patience, you will quickly have a strong and stable sourdough starter that can be used for many years to come.
Photos
Note: Information may contain errors. Always verify important facts yourself.
What to read next

Vestfold Meatballs from Hvarnes
Meatballs are a dish that most Norwegians have a connection to. This variant has a specific local tie to Hvarnes in Vestfold and stands out with ingredients like egg, baking soda, wheat flour, potato flour, and a distinct dose of nutmeg.

Beef Roast with Baby Potatoes
Beef roast with potatoes, vegetables, and brown sauce is a dinner that doesn't require many modern techniques. The most important factors are good meat, the right core temperature, and preserving the juices and drippings along the way.

Cauliflower Soup with Crispy Bacon
Cauliflower soup is one of those dishes that shows how little it takes to make a good dinner. Here, I let the cauliflower be the main flavor and use chicken stock and a bit of cream to give the soup body. On top, there's crispy bacon and small cauliflower florets sautéed in the bacon fat.